In this article, we are diving to add filters on dashboard page for widgets. We will create some stats overview widgets and apply filter to them.
Check out the official demo.
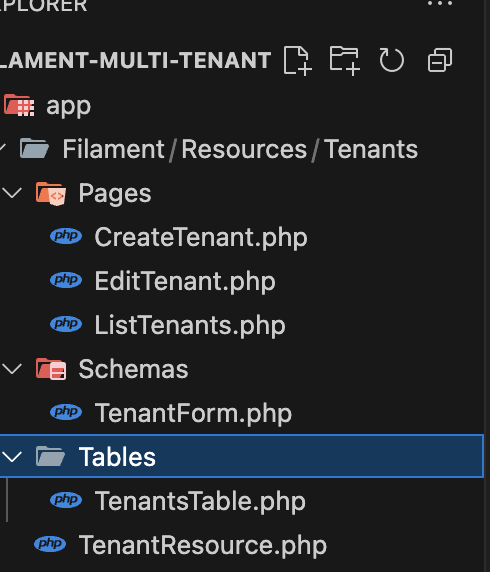
1. Create a custom filament dashboard page
Initially, we will create a custom filament dashboard page and we will extend the base dashboard page. This is the concept of extending class. So, to create a custom filament dashboard page hit the following command on your terminal:
php artisan make:filament-page DashboardIt ask for you to choose the Panel, if required and also the resource. But we don’t need to add it on any resource.
2. Modify your new page to extend old dashboard page
After we created a new page, we need to extend the old dashboard page. For that , you can remove all the code inside the class like icons and views. And do like this:
use Filament\Pages\Dashboard as PagesDashboard;
class Dashboard extends PagesDashboard
{
// no code for now...
}
If you see the PagesDashboard its the filament default Dashboard Page.
3. Use a trait
Now, to work with filters, we just need to use HasFiltersForm trait in our new class. So, for that use can just use the following code:
use Filament\Pages\Dashboard as PagesDashboard;
class Dashboard extends PagesDashboard
{
    use PagesDashboard\Concerns\HasFiltersForm;
}
4. Create your desired form
Now, to add filters on dashboard page, your page is almost ready. We just need to create a form that we want. For now, i have added 2 form components: start_date and end_date.
 public function filtersForm(Form $form): Form
    {
        return $form
            ->schema([
                Section::make()
                    ->schema([
                        DatePicker::make('startDate')
                            ->maxDate(fn (Get $get) => $get('endDate') ?: now()),
                        DatePicker::make('endDate')
                            ->minDate(fn (Get $get) => $get('startDate') ?: now())
                            ->maxDate(now()),
                    ])
                    ->columns(3),
            ]);
    }
You can add as per your requirement as it is the filament resource form.
5. Register your page
Now, after our dashboard page is ready, go to your PANEL PROVIDER and override existing dashboard page with this new one.
6. Create your desired widget
Now, our page is ready and now we can create the widgets i want. For demo I am creating the Stat overview widgets. And i am not diving into it much.You can check it out here for widget article.
class SalePurchaseOverview extends BaseWidget
{
    use InteractsWithPageFilters;
}
In your Widget, you must use the InteractsWithPageFilters trait to access our filters data
7. Modify to add filters logic
Now, the final step is to modify our widget rendering method.
  protected function getStats(): array
    {
        $startDate = empty($this->filters['startDate']) ? Carbon::now()->startOfMonth():Carbon::parse($this->filters['startDate']);

        $endDate = empty($this->filters['endDate']) ? Carbon::now():Carbon::parse($this->filters['endDate']);

        $totalSales = SaleInvoice::whereBetween('created_at', [$startDate, $endDate])->sum('total_amount');
        $totalPurchases = PurchaseInvoice::whereBetween('created_at', [$startDate, $endDate])->sum('total_amount');
        $totalPaid = PaymentTransaction::whereBetween('payment_date', [$startDate, $endDate])->sum('amount');
        return [
            Stat::make('Total Sales', $totalSales),

            Stat::make('Total Purchases', $totalPurchases),

            Stat::make('Total Payments', $totalPaid),
        ];
    }
In the above code, you can see that we are trying to get the startDate and endDate and if its not provided i.e by default it will be the current month. And then we have the query to get the totalSales, totalPurchases and totalPaid.
Conclusion
So, in this way we can add filters on dashboard page for widgets. If you have any confusion or any queries, let me know from comment or email.
But wanna remark that you have a very nice site, I like the design it actually stands out.